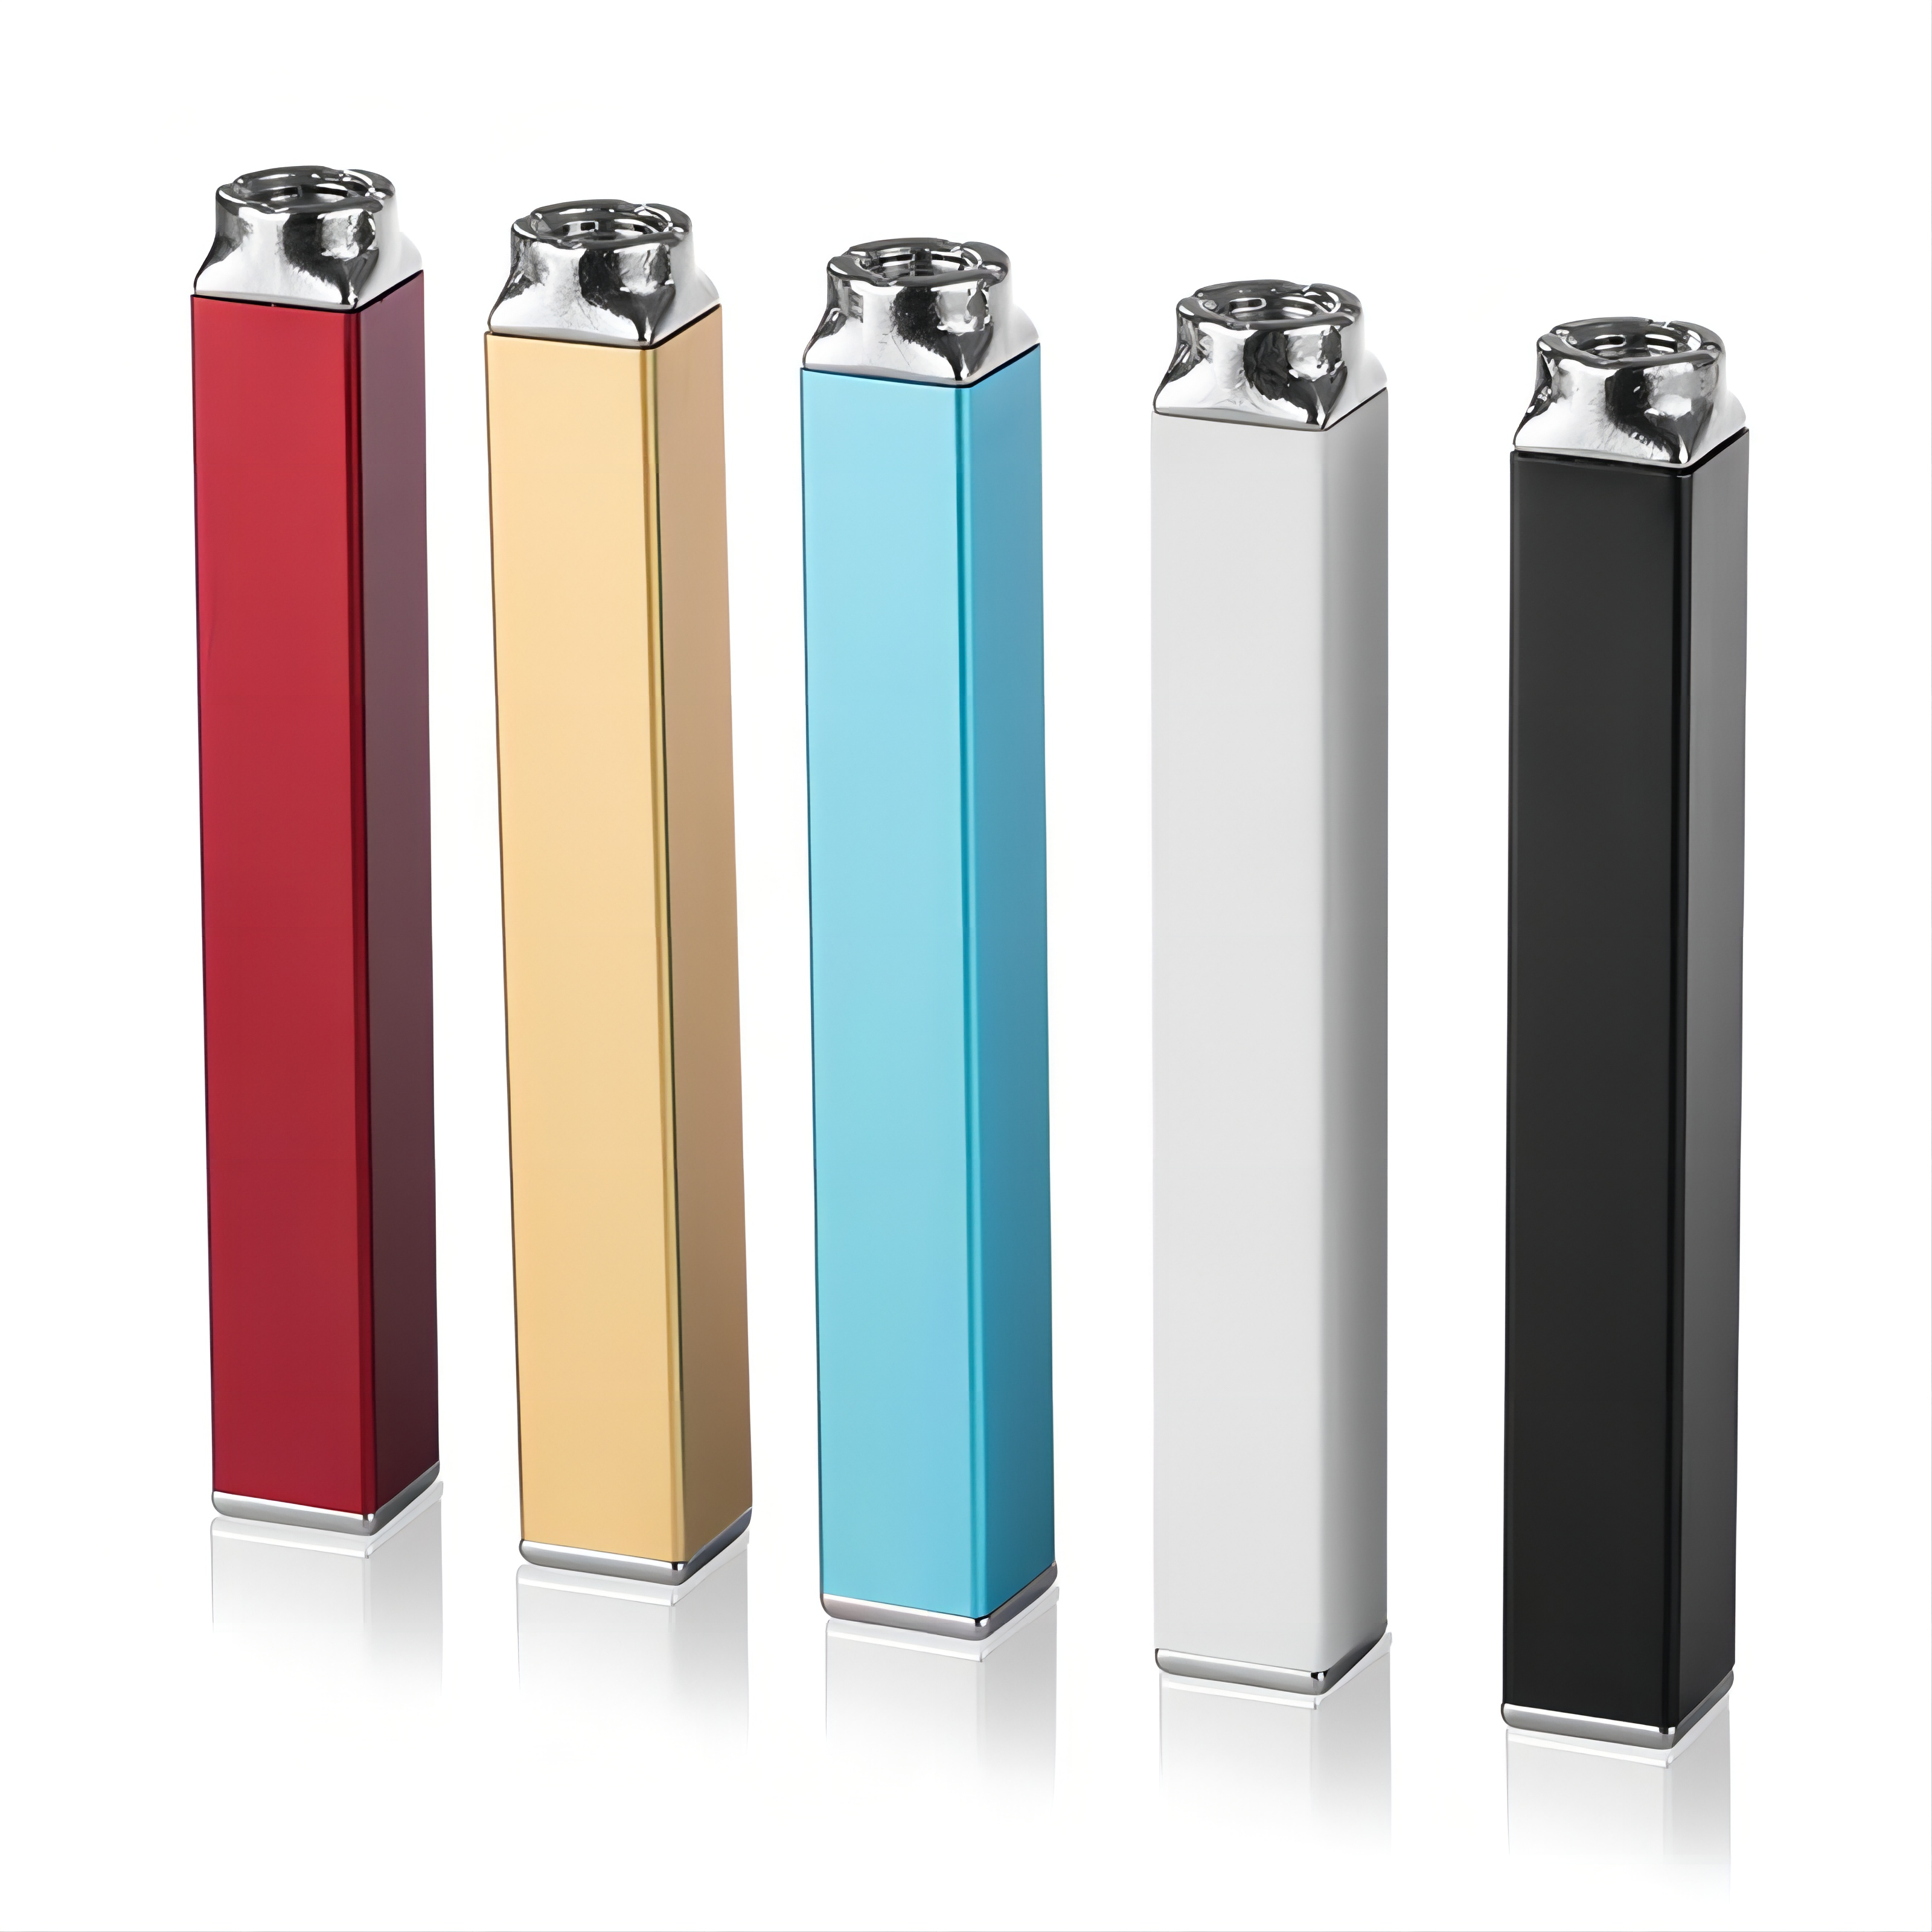
The Hive 2.0 provide three voltage settings
- March 8 | Jeremy Lin
The voltage settings is key feature for box mod?
If voltage is set too low with respect to resistance level, vapor production will be low and inefficient. So to help you with ideal voltage setting you will need two things: resistance level of your e-juice delivery device (indicated in Ohms) and Vaping Power Chart.

The Hive 2.0 provide three voltage settings
One of the best features of the Hive 2.0 is its variable voltage settings. For ease of use, it has three settings.
- The lowest setting (3.4 Volts) is a great place to start for new users but is also a popular setting for those who just want a nice, smooth vapor.
- The middle setting (3.9 Volts) provides nice, thick vape hits without being too harsh.
- However, if you really want to get massive rips or have a vape competition with some friends, crank it up to the highest setting (4.2 Volts) and get ready for some real vaping power.
Right above the power button, there are three indicator lights that show you the current voltage setting. To adjust the voltage, just press the power button three times once the Hive 2.0 is switched on. The indicator lights are pretty straightforward – one blue light is low, two blue lights is medium and all three is high.
If you have any question about Hive 2.0, please comment below. Have a nice day with Hive 2.0.
Also Read:
- Hive 2.0 meet all your vaping cartridge?
- The Hive 2.0 provide three voltage settings
- How to Vaping Hive 2.0 All-in-one Box Mod?
- The Hive 2.0 comes with two interchangeable atomizers
- Vape Guideline: Loading Yocan Hive 2.0 Box Mod Cartridge
- Vaping Guideline: How to Charging Yocan Hive 2.0 Box Mod?
- How to maintenance/cleaning Yocan Hive 2.0 Box Mod Oil Cartridge?

